
Part of our The Arctic guide →
Aurora settings at a glance
- Lens
- 14mm to 24mm, f/1.4 to f/2.8
- Focus
- Manual, set to infinity on a bright star
- ISO
- 1600 to 6400, depending on your sensor
- Shutter
- 1-8 seconds when active, 8-15 when faint
- Support
- A tripod you would trust in wind, not a travel one
- Batteries
- Three or four spares, carried against your body
What Camera Settings Work for the Aurora?
Shoot manual: aperture wide open at f/1.4 to f/2.8, ISO between 1600 and 6400, and a shutter of one to eight seconds when the aurora is active, eight to fifteen when it is faint. Focus manually to infinity by magnifying a bright star in live view. Then stop adjusting and start watching.
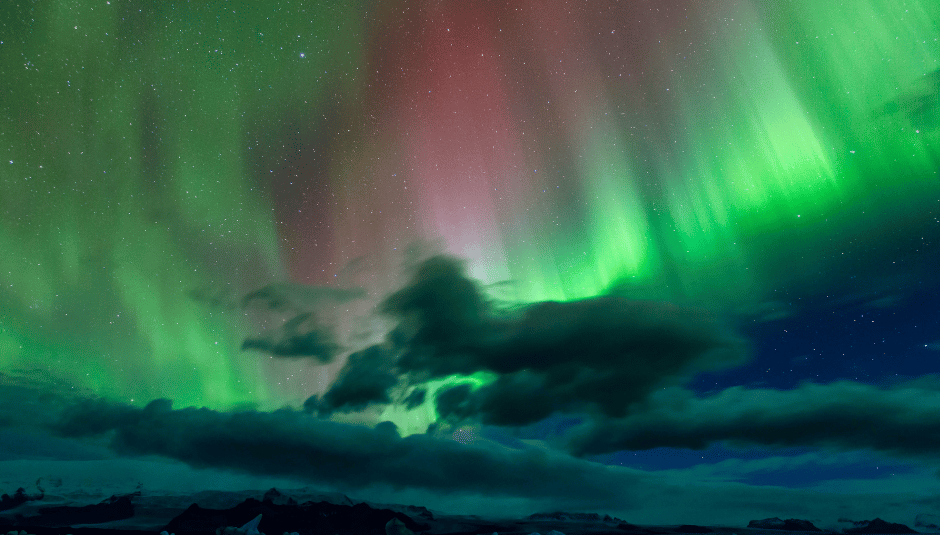
The mistake people make is treating the aurora as one subject. A faint green arc sitting still wants a long exposure. A corona overhead moves fast enough that fifteen seconds turns it into featureless soup, so you shorten the shutter and raise the ISO instead.
Turn off long-exposure noise reduction if your camera has it, or you will spend half the display doubling every frame. Shoot raw. Green in a raw file survives a lot of correction later.
What Gear Do You Actually Need?
A camera with manual exposure and decent high-ISO behaviour, a fast wide lens between 14mm and 24mm, and a tripod sturdy enough to hold still in wind. Add three or four spare batteries, a head torch with a red mode, and gloves thin enough to work the dials without bare skin on metal.
Full-frame helps, but a recent crop-sensor body with a fast lens will produce photographs you are happy with. Spending on the lens before the body is the better order.
Cold is the real equipment problem. Batteries that show full at dinner can die in twenty minutes outside, so rotate spares from an inside pocket and treat every reading as optimistic.
Can You Photograph the Aurora from an Expedition Ship?
Yes, with adjustments. A ship moves even in a sheltered fjord, so exposures beyond two seconds usually blur. Raise the ISO, keep the shutter between one and three seconds, and hand-hold braced against a rail rather than fighting a tripod on a vibrating deck. Save the long exposures for shore.
Deck lighting is the other constraint. Ask the bridge whether outside lights can be dimmed during a display — on expedition ships the answer is often yes, and it transforms what you can shoot.
How Do You Protect a Camera in Arctic Cold?
The danger is not the cold, it is coming indoors. Warm damp air condenses inside a freezing lens and can take a day to clear. Seal the camera in a plastic bag outside, then let it warm slowly in the bag before opening it. Never breathe on a cold viewfinder or lens.
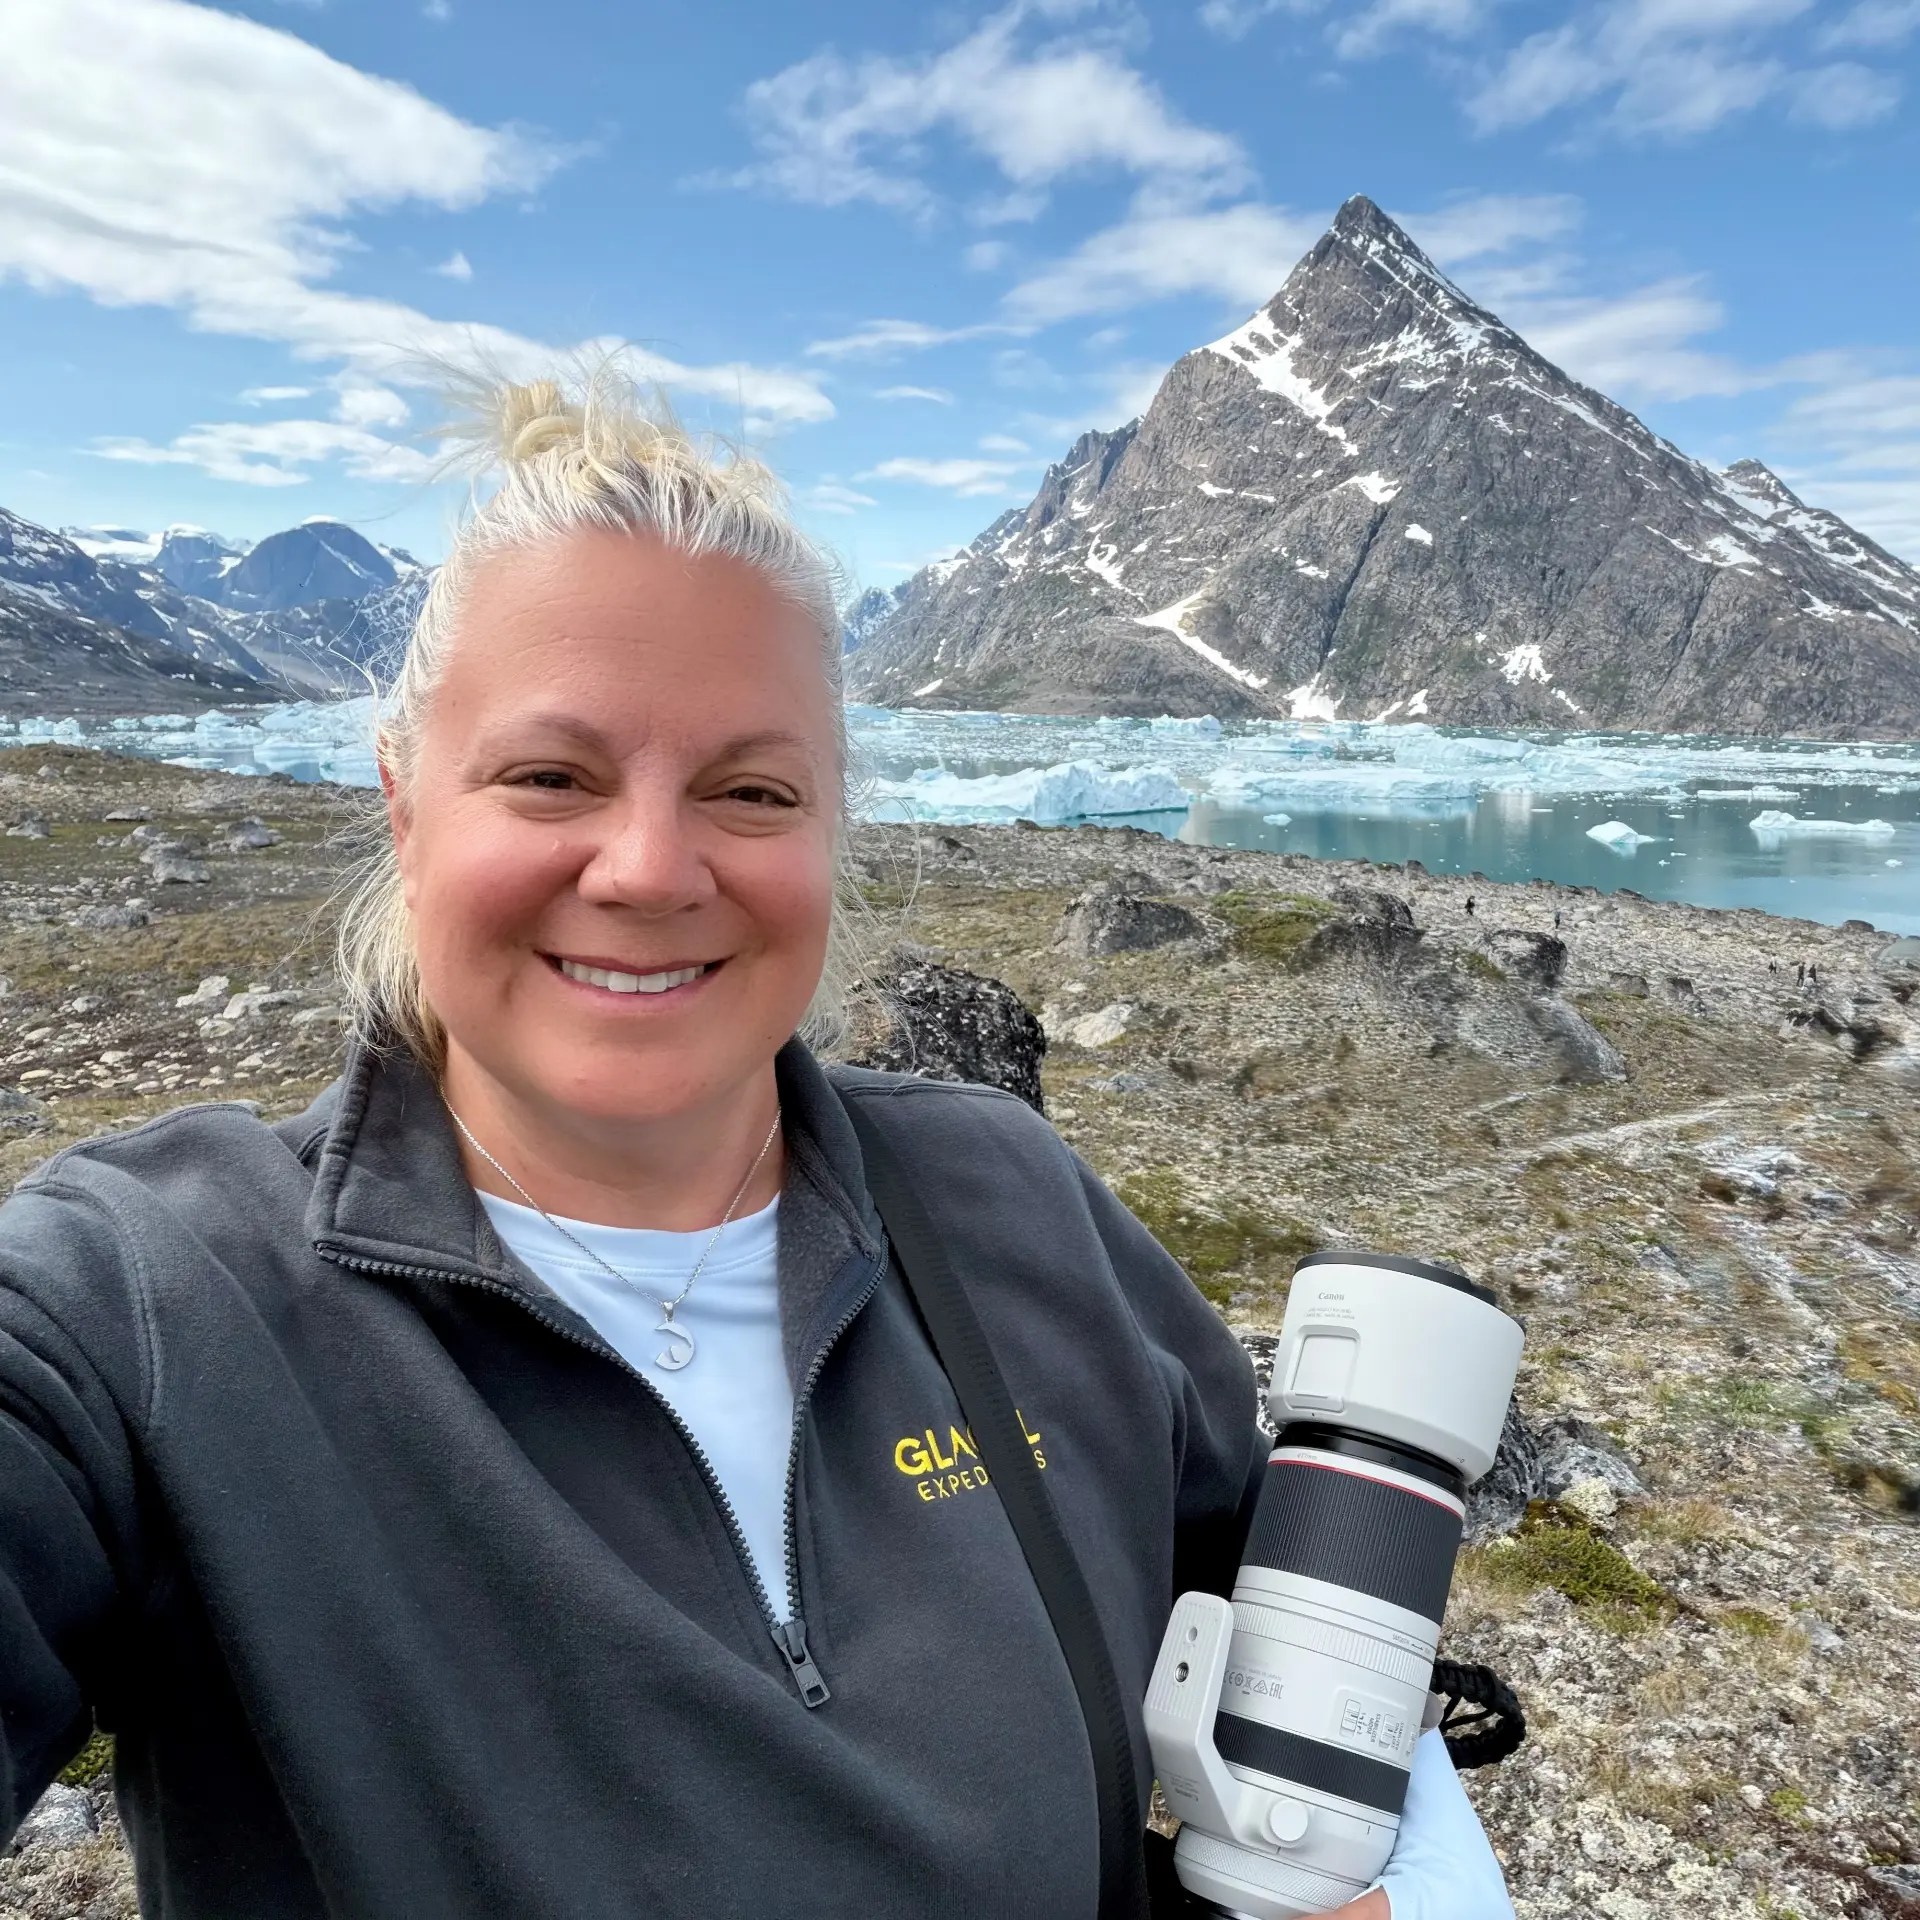
Erika photographed the aurora on both Churchill trips, in temperatures where the practical limits show up quickly: batteries fade, autofocus is useless, and the tripod head stiffens. Everything above is what survived contact with those nights.
What Makes an Aurora Photograph Worth Keeping?
Foreground. A green sky on its own reads as an abstract; the same sky above spruce trees, a shoreline, a lit cabin or a ship gives a viewer scale and place. Frame the foreground in daylight, note where you will stand, and return after dark knowing your composition already works.
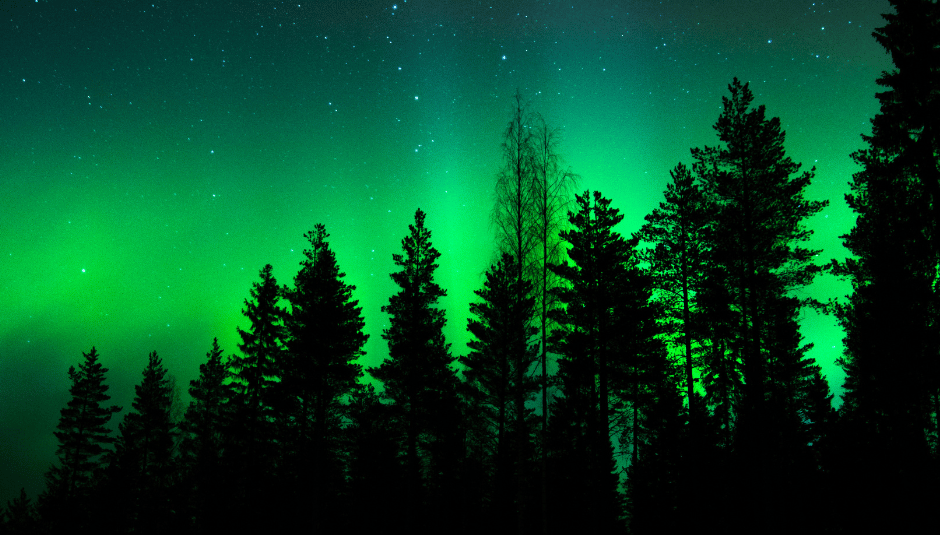
Bring a head torch to paint a foreground for a second or two at low power, and expect to discard most frames. A good night might give you three photographs. That is a good night.
Aurora photography: common questions
Can you photograph the Northern Lights on a phone?
Recent phones with a night mode produce recognisable aurora photographs, especially propped against something solid. They struggle with fast-moving displays and with faint arcs, where a camera and a fast lens pull far ahead.
What shutter speed should I use?
One to eight seconds for an active display, eight to fifteen for a faint one. Longer than fifteen seconds and structure smears; the aurora is moving even when it looks still.
Do I need a full-frame camera?
No. A modern crop-sensor body with a fast wide lens is enough. A fast lens and a solid tripod improve your results more than a bigger sensor.
Is a tripod necessary?
On land, yes. On a ship it is often counterproductive, because the deck vibrates and the hull moves; brace against a rail and shorten the exposure instead.
When is the best time of night to shoot?
Activity tends to peak in the hours either side of local midnight, but displays can start at nine and end at three. Dress to stay out for hours rather than checking once and going to bed.
Keep planning the aurora trip
Northern Lights for first-timers
Where to go, how many nights to allow, and what the odds really are.
Northern Lights in Churchill
Erika's two trips under one of the most reliable aurora skies anywhere.
When to visit the Arctic
Why the aurora season and the expedition season do not overlap.
Arctic packing list
The layers that make standing still in the cold possible.
Expedition photography
Photography programmes, mentors and gear across every region.